

Overview
Zentadata Developer Edition is the simplest solution to start data analysis on your local machine right away. It is totally free and available for everyone.
Zentadata Developer Edition consits of 2 modules:
Data Studiodata analytics IDE where you actually work with a dataDeveloper Clusterdata processing engine shipped as a docker container
Developer Edition Features
- Data formats: JSON, CSV, XML, Parquet
- Data sources: Local File System, PostgresDB

Installation
Prerequisites
- Docker installed on your local machine
- Minimum 1GB of RAM for Docker container
- Get free Developer Edition license key at https://account.zentadata.com
Install Data Studio
You can download and install Data Studio from this link📦.
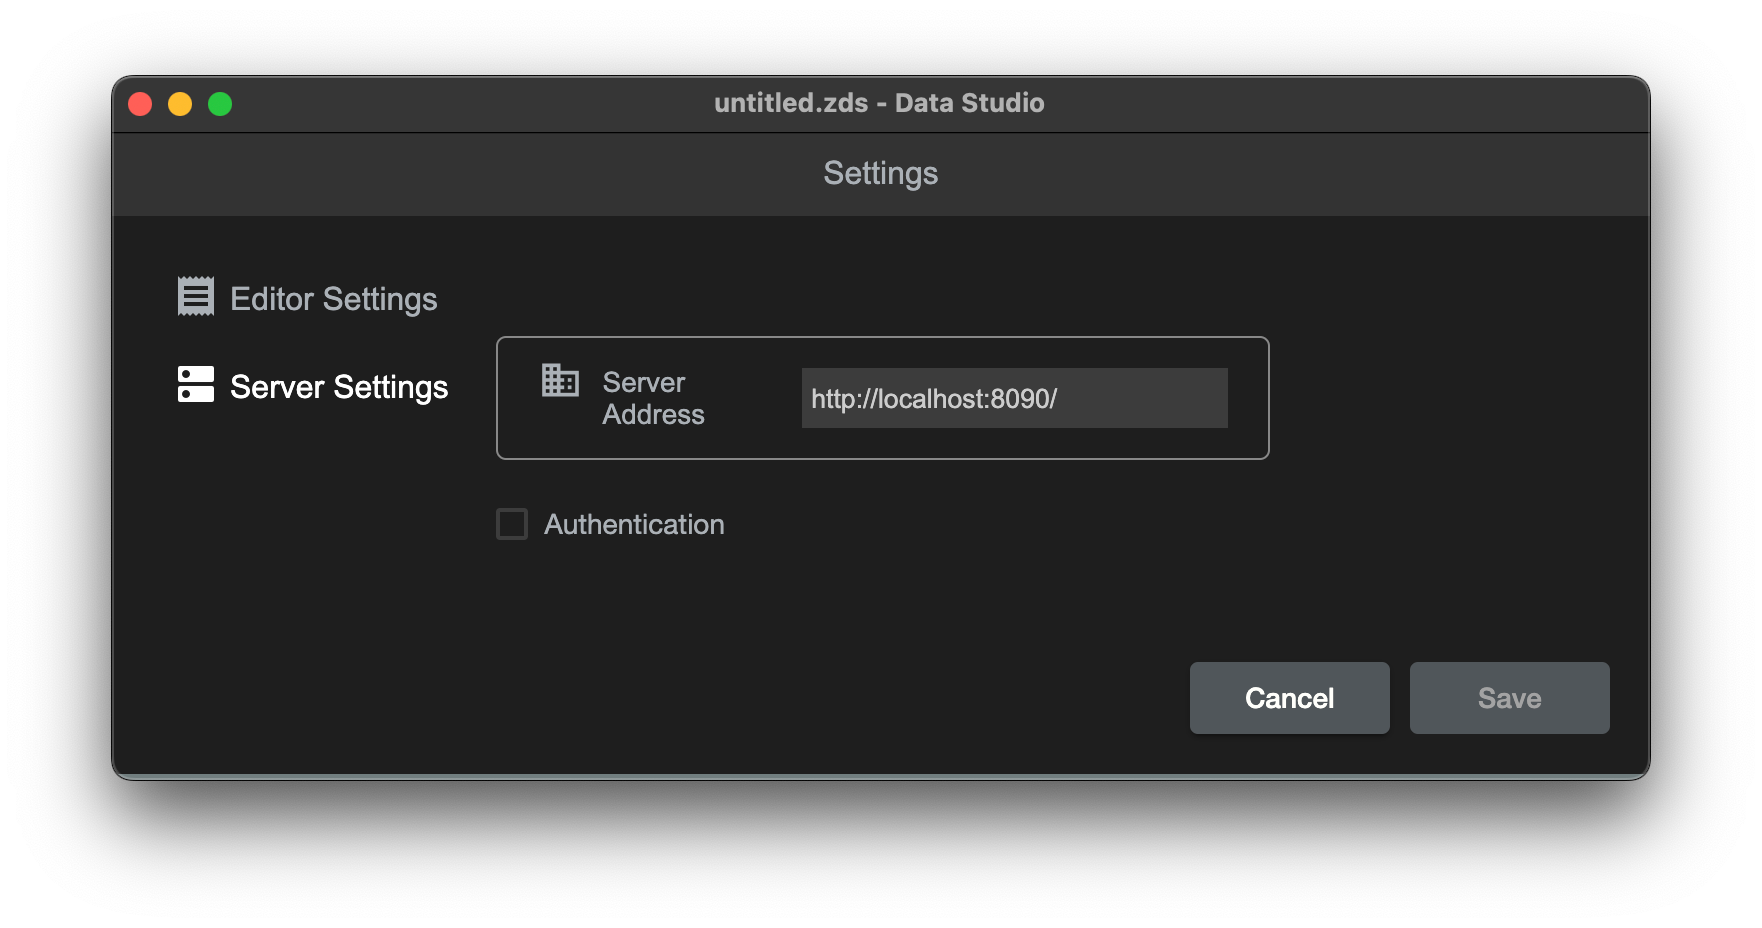
Data Studio connects to the Developer Cluster to execute user defined data jobs. By default it is cofigured to connect to the local Developer Cluster at http://localhost:8090 which is good enough for our use case.
Install Developer Cluster
Download docker image and start container:
docker pull zentadata/zentadata-dev:latest

docker run -di -p 8090:8090 --name zentadata-dev \
--mount type=bind,source=/Users/<user_name>/datasets,target=/datasets \
-e POSTGRES_URL=jdbc:postgresql://host.docker.internal:5432/postgres \
-e POSTGRES_USERNAME=postgres \
-e POSTGRES_PASSWORD=********* \
-e ZENTADATA_LICENSE_KEY=****** \
zentadata/zentadata-dev:latest
Note: if you are running under Docker under Linux, you might need to add 1 extra parameter --add-host=host.docker.internal:host-gateway. Otherwise container will not be able to resolve address host.docker.internal.
This will start docker container running Developer Cluster, but most probably you will need to adjust configuration for your needs. See the next chapter how to configure each parameter.
Mount local folder to container filesystem
Please notice how we use --mount parameter. To process data files from your local file system (/Users/Alex/datasets), you need to mount it into Docker container filesystem (/datasets) to be available for data engine.

Docker container configuration
There are multiple parameters available to configure Developer Cluster running in docker container via environment variables.
Note: Please notice if you want to connect to PostgresDB running on localhost, you need to set address as host.docker.internal - it is docker alias to connect from within container to localhost.
| Env variable | Default value | Description |
|---|---|---|
| POSTGRES_URL | jdbc:postgresql://host.docker.internal:5432/postgres | PostgresDB connection string |
| POSTGRES_USERNAME | postgres | PostgresDB username |
| POSTGRES_PASSWORD | postgres | PostgresDB password |
| MAX_HEAP_SIZE | 1g | Max memory allocated for Developer Cluster |
| ZENTADATA_LICENSE_KEY | Developer License Key you can obtain registering at https://account.zentadata.com |
Simple app
Now once we have all in place, lets try to run Data Studio to execute simple queries.
Read PostgresDB
In my local postgres database i have table users defined as following:
CREATE TABLE users
(
    id INTEGER PRIMARY KEY,
    first_name VARCHAR,
    last_name VARCHAR,
    country  VARCHAR
);

INSERT INTO users (id, first_name, last_name, country)
VALUES (1, 'John', 'Dow', 'US'),
       (2, 'Nuria', 'Fabricio', 'US'),
       (3, 'Itzel', 'Langosh', 'US'),
       (4, 'Lilliana', 'Larkin', 'PL'),
       (5, 'Walker', 'Quigley', 'PL');
Lets copy paste following code into Data Studio and execute it (hotkey F9):
zen
    .read("postgres")
    .from("users")
    .execute().show();

EXPECTED OUTPUT:
+--+----------+---------+-------+
|id|first_name|last_name|country|
+--+----------+---------+-------+
|1 |John      |Dow      |US     |
|2 |Nuria     |Fabricio |US     |
|3 |Itzel     |Langosh  |US     |
|4 |Lilliana  |Larkin   |PL     |
|5 |Walker    |Quigley  |PL     |
+--+----------+---------+-------+
Read JSON files
On my local filesystem i have a file /Users/Alex/data-samples/orders.json with a following content:
[
  {
    "order_id": "1",
    "date": "2020101",
    "items": [{
        "name": "ipad",
        "price": 449.99
    }]
  },
  {
    "order_id": "2",
    "date": "2020101",
    "items": [{
        "name": "imac 27",
        "price": 1700
    }]
  }
]
Lets try to read this json file with Data Studio and print its content:
zen
    .read("localfs")
    .format(DataFormat.JSON)
    .option(JsonOpts.IS_MULTILINE, "true")
    .from("file:/datasets/orders.json")
    .execute().show();

EXPECTED OUTPUT:
+-------+------------------+--------+
|date   |items             |order_id|
+-------+------------------+--------+
|2020101|[[ipad,449.99]]   |1       |
|2020101|[[imac 27,1700.0]]|2       |
+-------+------------------+--------+
Note: Please notice how we set a path to the file relative to container mounted volume: "file:/datasets/orders.json"
Summary
We have installed Zentadata Developer Edition and successfully executed simple queries.
Ofcourse the true data analytics power comes with more advanced queries which we will show in the next blog posts.